Instrument
Panel
My panel was cut out using a tool from US Industrial Tool that is a hole jig. It cost me $100! Ouch but it makes nice holes...so that was about $12.50 a hole....for my 8 holes...but they are really nice holes!
I had my panel powder coated silver with a glaze finish. Looks awesome!
Standard 6 pack Instruments + VOR/GS/LOC
- Airspeed
- Altitude
- VSI
- Directional Gyro
- Attitude
- Turn and Bank
- VOR/GS/LOC
Customer designed Engine Monitoring System (by me!....hey i spent alot of cash on that electrical engineering degree!)
- RPM
- MP
- CHT/EGT displayed for all cylinders
- Fuel flow, quantity, psi
- Oil temperature and psi
- Tach time, flight timer, general timer
- OAT, Carb temp
- Volts/Amps
- Fuel pump timer, aux tank pump timer
- Digital voice recorder (8min)
- Voice warnings for out of range problems
The engine monitor is a 320x240 LCD panel touchscreen that fits into a 5x7" box. Only the display is shown through the panel. The touchscreen mounts on the front of the panel and the control box mounts behind the panel. Note that you don't need to make a hole in the panel...the screen is only 5/16" thick and mounts to the panel with four #6 screws from the rear.
The dimmer and power switch (if not wired through the avionics master) are remote located anywhere you want.
All interfacing is done through two 37pin D-sub connectors on the rear.
More info coming soon on this project. I should have this completed in the next few months when i do my engine installation.
Nav/Comm
- Garmin GNS430
- Garmin GTX327 digital transponder
Glove Box, various swivel lights, Nulite lights for the standard 6 instruments
I plan to do the panel myself. I purchased the hole cutter from US Industrial tools. It makes smooth edge holes. I also have their screw hole template.
Believe it or not but i have had quotes of $1250 for just cutting the holes out in the panel (Eastern Avionics told me this at Sun-n-Fun 2001...i had to break out laughing at them when they told me this...i can only hope i wasn't too rude!!). This isn't rocket science....cutting holes is easy...and wiring the panel is not difficult at all...just need a little planning.
Interior
These
are some pictures of the Cirrus Interior...i'm sort of using this as an inspiration for my interior....i
probably won't even come close but worth a try!
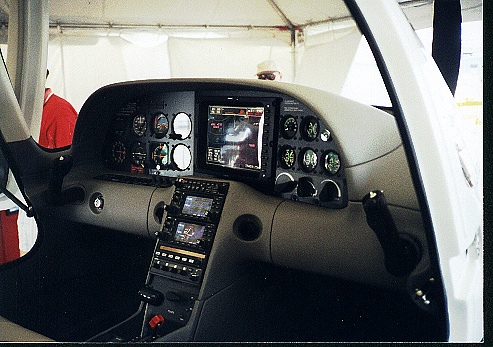
Pictures of the Cirrus Panel from Sun -n- Fun. This is the ultimate panel with two GNS-430 gps/comm from Garmin.
 The Cirrus SR20 Seats...they are awesome...I
would hate to spill a beer on those.
The Cirrus SR20 Seats...they are awesome...I
would hate to spill a beer on those.
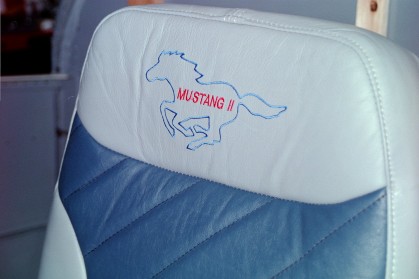
My awesome seats installed.
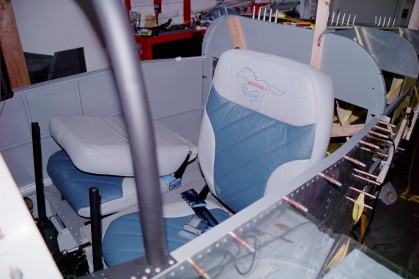 A
close up of the embroidery work done by "Touch and Sew" in
Venice, FL. I did some moonlighting work to pay for these
babies! Can't believe how much they charge for used Cessna 150
seats!
A
close up of the embroidery work done by "Touch and Sew" in
Venice, FL. I did some moonlighting work to pay for these
babies! Can't believe how much they charge for used Cessna 150
seats!
When i sit in the seat the springs/cushion compresses so that i am only 1" above the center section floor...so even though the seats sit up high (and some people have not put in these type of seats because of this problem) you can make the seat compress down so that you have the extra headroom.
I wanted to be comfortable and have a sliding seat....i don't know what it is but some times i like to change my position!
Table of Contents
Who am I?
FAQ & Tips
Tools
Corrosion
Protection
Airframe
Construction
Finishing Parts List
First Flight!
Insurance/Other
Costs
Flying & Trips
Video
SIGN Guest Book
VIEW Guest Book