Make sure you take your time and align the center section carefully. Note that the wings attach to the center section...so get the distance right! And watch out for twist in the rear spar when riveting. A twist here will ruin your day.
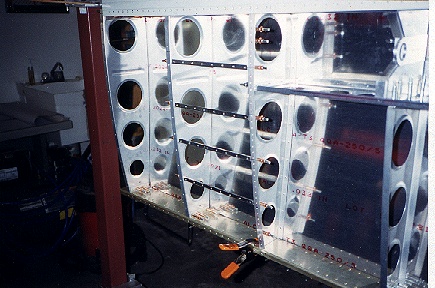
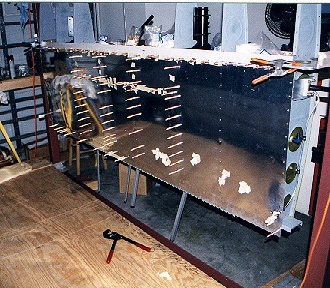
 Center Section in the factory jig. Note the ribs are all lined up
using threaded rod.
Center Section in the factory jig. Note the ribs are all lined up
using threaded rod.
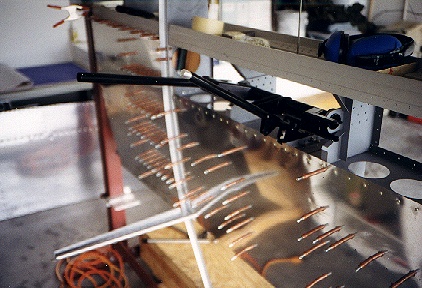
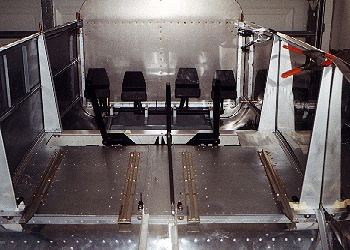
 Wing walk stiffeners. I know of one builder that added an extra
rib here for more support. Not sure if it is needed but would make
it stronger.
Wing walk stiffeners. I know of one builder that added an extra
rib here for more support. Not sure if it is needed but would make
it stronger.
 Note the backup plates for the seat rails. I want to make sure
the seat rails have enough support for my heavy butt....especially in
those high G turns!
Note the backup plates for the seat rails. I want to make sure
the seat rails have enough support for my heavy butt....especially in
those high G turns!
More ribs...
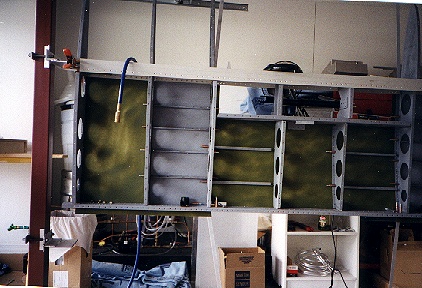 Center section nearing completion...note that i did not do the leading
edge skins until the fuselage was completed...this was to get a good
fit on the skins....i can't really see how you could do it before.
Center section nearing completion...note that i did not do the leading
edge skins until the fuselage was completed...this was to get a good
fit on the skins....i can't really see how you could do it before.
 Control stick and view from the top.
Note the aux tank install. view from the bottom and also not
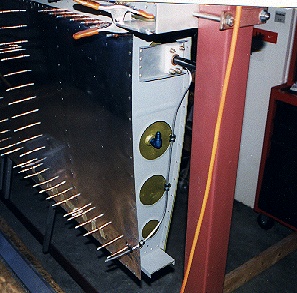
Aux tank install. Note the vent line running down the side.
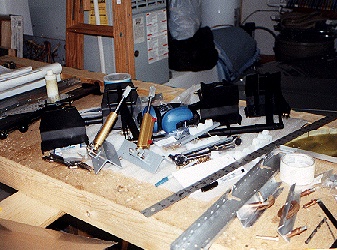 Rudder pedals black powder coated with the same material used on the
space shuttle rudder pedals!
Rudder pedals black powder coated with the same material used on the
space shuttle rudder pedals!
 Firewall mounted to the rudder pedal support and forward floor board
supports. This assembly was riveted while separated from the
fuselage..much easier to rivet.
Firewall mounted to the rudder pedal support and forward floor board
supports. This assembly was riveted while separated from the
fuselage..much easier to rivet.
 Close up of the rudder pedals. Note that i modified the rudder
pedal mounting plate to be much more stiff.
Close up of the rudder pedals. Note that i modified the rudder
pedal mounting plate to be much more stiff.
 Center section complete and mounted horizontally on two metal
sawhorses. Whew! Finally starting to look like an
airplane.
Center section complete and mounted horizontally on two metal
sawhorses. Whew! Finally starting to look like an
airplane.
Took 6 months of part time work to build the Center Section.
Table of Contents
Who am I?
FAQ & Tips
Tools
Corrosion
Protection
Airframe
Construction
Finishing Parts List
First Flight!
Insurance/Other
Costs
Flying & Trips
Video
SIGN Guest Book
VIEW Guest Book